Everybody likes a bit of decor to add style to their homes, right?
And if you’re the type of person who absolutely adores aesthetic arrangements in your own home, then you’re most likely doing all you can to display your art and other pieces of decor for a pleasant show.
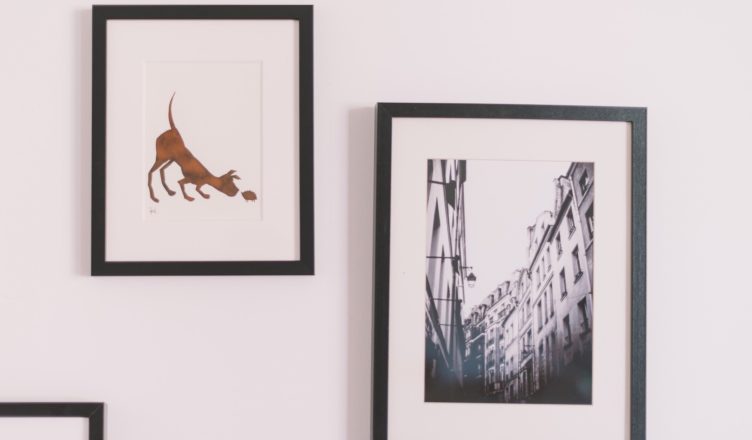
So, you’ve spent a gigantic amount of time getting your favorite pictures and illustrations together.
They’re all custom-printed and some are even ordered online just to match the aesthetic that you’re going for. You probably even know where you want those variously sized art pieces to hang.
But now what?
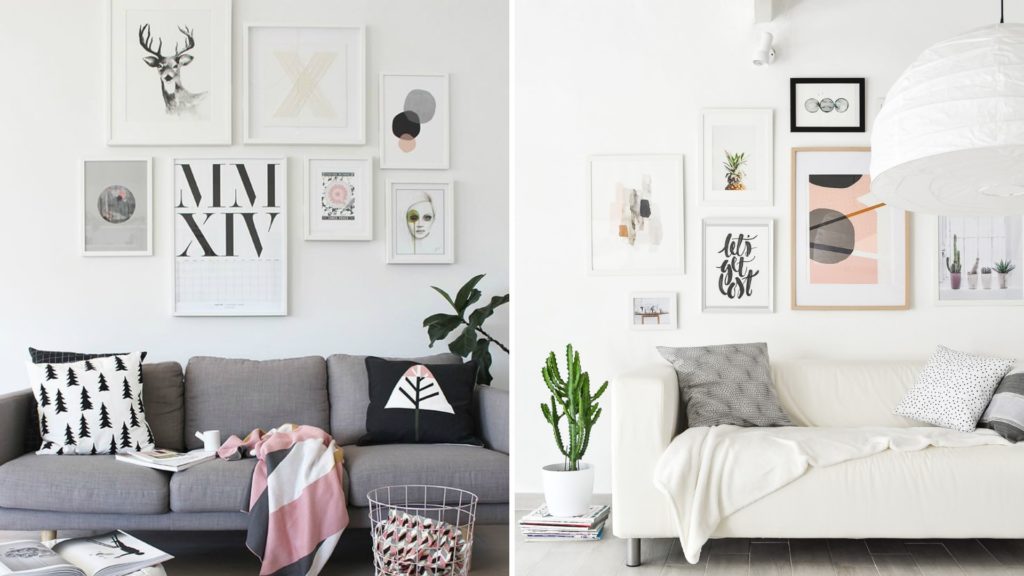
Image Credit: Decoholic & & Architectural Digest
Browsing through the internet and checking out a couple of canvas wall galleries on the internet can be quite enlightening. But for some, they can look daunting too.
After all, it’s not as easy as hanging a bunch of wall art together in the hopes of creating an aesthetic gallery as a result.
It takes planning and careful positioning to effectively turn that empty wall space into a mini gallery that you can be proud of.
How to Build Your Canvas Print Gallery
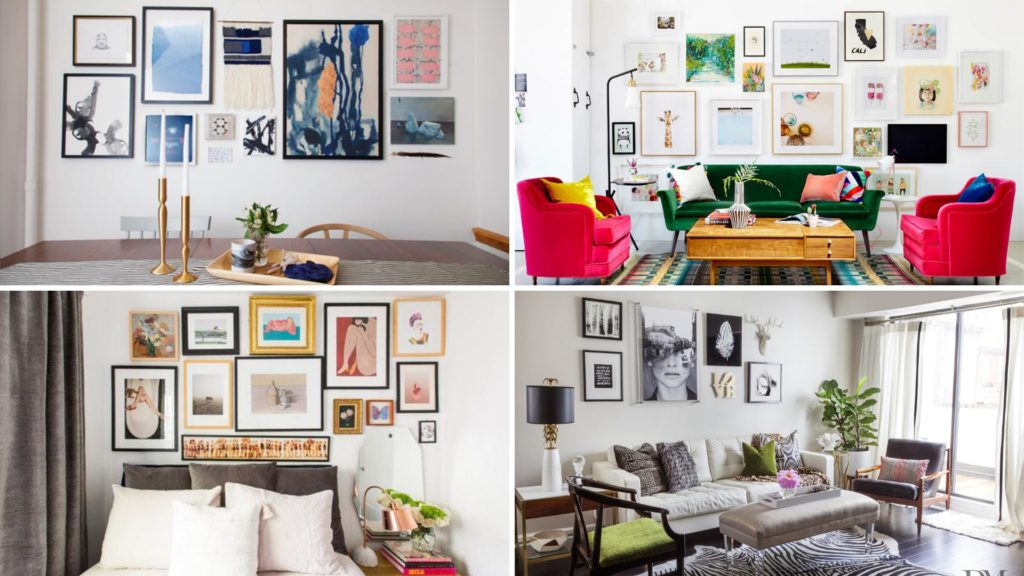
Image Credit: Lonny, Emily Henderson, The New York Times, irlydesign.com
They make quite the exquisite visuals, don’t they?
Not only do they add splashes of color to a room that’s otherwise devoid of it, but they would also make an interesting centerpiece to any room that has it as the main cameo.
And you can build your mini wall gallery without it feeling too overwhelming.
So, let’s follow a couple of these simple steps, and you can have your own pretty wall gallery in no time at all.
Step #1: Choosing the designated wall space
The first thing you’d want to do is conduct a little survey of your home to find the perfect space to hang your collection of gallery-worthy prints.
Who knows?
You might even find an empty wall space just begging to be transformed into a mini gallery.
You might find one or a couple. But whichever one it would be, make sure to choose an empty wall space that can serve as the room’s focal point when you’re finished hanging up your wall arts.
Also, make sure that it has enough space to occupy the entirety of the arrangement that you have in mind.
Take the windows, any wall shelves, light switches, doors, etc into consideration. See if they might get in the way.
Here are a couple of ideas worth considering:
The Foyer or the Entryway
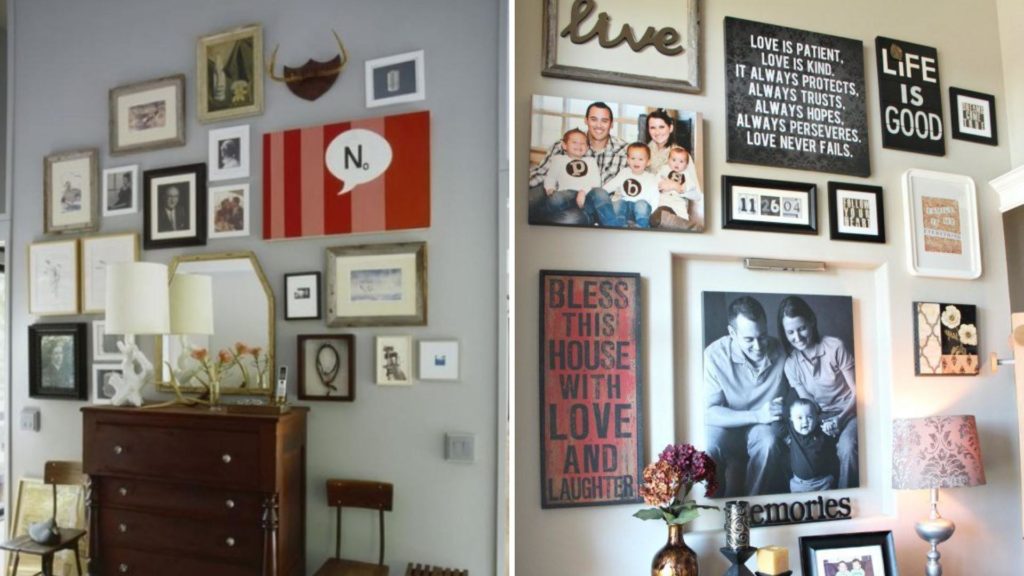
Image Credit: The Beyer Foundation & Pinterest
If your house has space, foyers can be a great place to showcase that mini gallery of yours.
In choosing the right prints and the right quotes, you can even dictate the atmosphere of that particular room based entirely on the wall art ideas you’ve chosen.
Perhaps some uplifting quotes or pictures to inspire you as you leave and return to your home, or even pictures of your family.
You can even turn it into a gallery of announcement boards just for fun.
Your Hallways
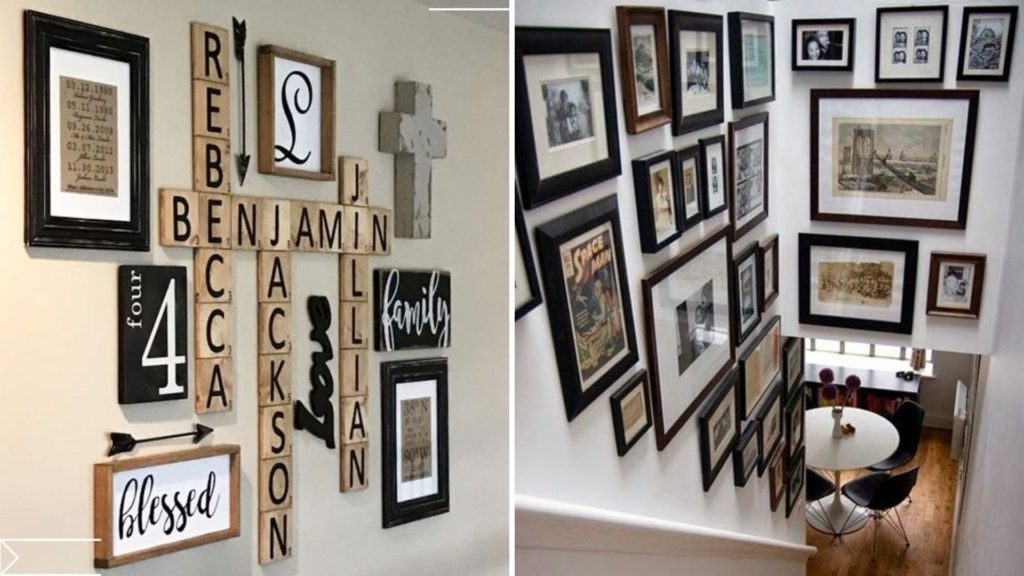
Image Credit: The Arts Section & Kaleb.info
Hallways are perfect places to create mini galleries.
Why?
A single look at them can reveal why. They’re usually long and empty. Plus, they’re mostly an afterthought for some people.
You can get really creative with this one…
The Living Room
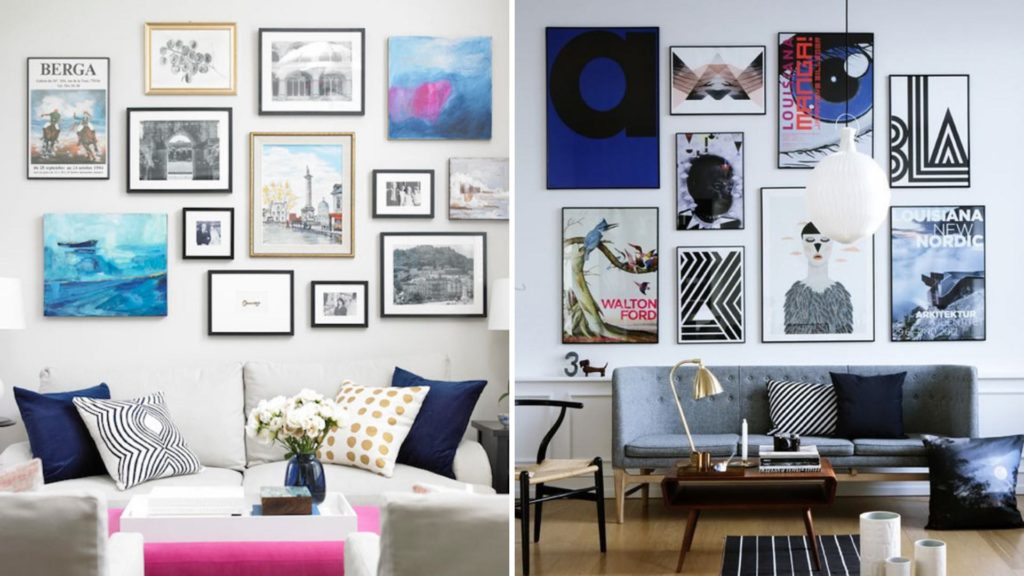
Image Credit: Decorpad & The Spruce
The common room, otherwise known as the living room, is ideal for showcasing a mini-gallery in. It’s typically where most of the family spends most of their time.
Therefore, it’s also an ideal place to flaunt what makes your family unique — or simply share your special moments in a beautiful way.
House Bedrooms
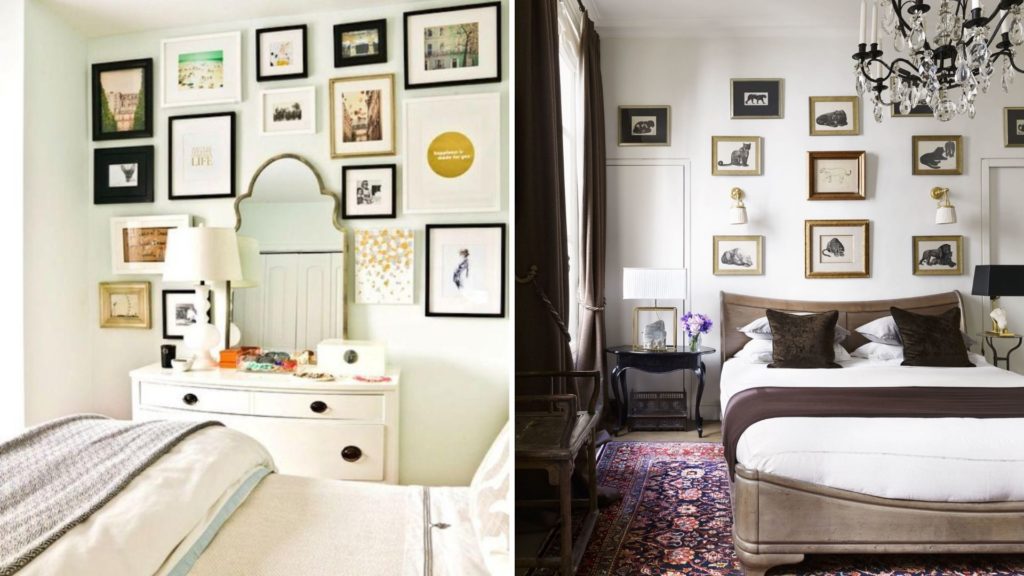
Image Credit: Rilane & Elle Decor
Bedrooms are a good place to showcase the owner’s personal tastes; so, adding a personal touch is definitely a great idea.
Expansive canvas prints hanging above the headboard or on the wall beside the homey crib can be good for making bold statements, or for cultivating a comfy atmosphere.
Step #2: Deciding on the layout depending on the sizes
Aside from considering the length and the width of the space that you have available, it’s also equally important to think about the sizes of your wall artwork.
Because once you’ve picked out the right spaces in the home, it’s time to decide on the layout that would be perfect.
This step is perhaps one of the most important throughout the whole process. It’s what differentiates a comprehensive and pleasing gallery to look at from a wall with scattered frames and prints.
In general, the rule of thumb is to choose your largest photo from the bunch and make that your gallery’s focal point, placed over the notable furniture in your room (like your bed, the couch against the wall, the fireplace mantle, hallway tables, etc).
Of course, this is your chance to let your creativity flow and decide on the layout all by yourself, but you can use these as a guide if you’re having trouble.
Big canvas layout:
This is the general rule of thumb, and perhaps the easiest to decide on. The biggest canvas art is the focal point, and you can place several other smaller wall arts around it or on either side of it.
Symmetrical layout:
Symmetry is traditional design — for the most part. Building your own canvas print gallery falls under this principle too. It’s all about aligning all of the artwork with each other while having a main focal point.
Asymmetrical layouts:
For this layout, you need to align the tops of each frame with each other. It provides the appearance of asymmetry, but also provides a directional line that isn’t an eyesore.
Grid layouts:
Grids are easy too. Arranging them in perfect order will be like having an Instagram profile page on your own wall. Just make sure they’re all centered and aligned with each other.
Vertical layouts:
These layouts are ideal for small and narrow spaces. You can have them if you have smaller wall spaces, or even next to your windows or doors. Assign the layout from either left or right.
Step #3: Choosing a color scheme
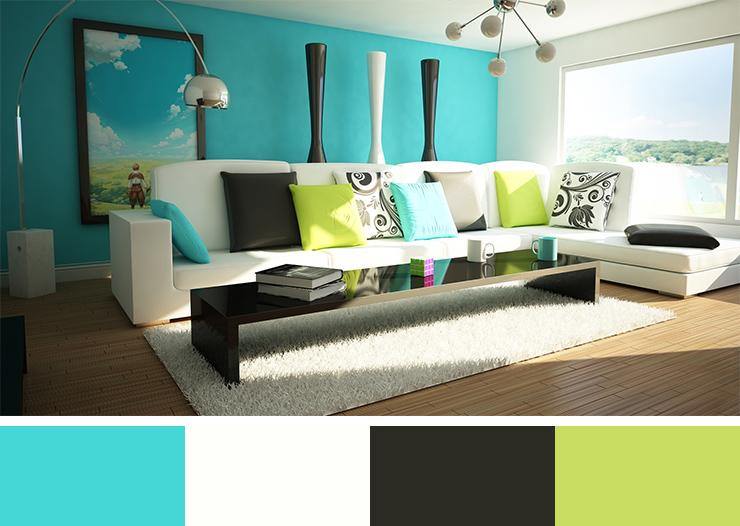
Image Credit: Africanism.net
It’s just like designing your aesthetic Instagram profile page, I swear. And if you get this right, it’s not that much different from having an Instagrammable side of the house too.
And since this is focused mainly on building a canvas print gallery that would unite seamlessly with the rest of your interior design, it’s good to choose a color scheme that would blend well with where you’re planning to have your gallery.
You can have your canvas print gallery in full technicolor. There’s also the classic black and white option.
And the fun part?
It’s wholly up to you…
Step #4: Gathering your art
In addition to the pictures you’re already thinking of hanging, take some time to gather other pieces of wall decor that would look fantastic with the rest of your pictures.
Aside from family photos, you can always look up designs and high-quality graphic photos to print online.
Step #5: Forming a layout for a guide
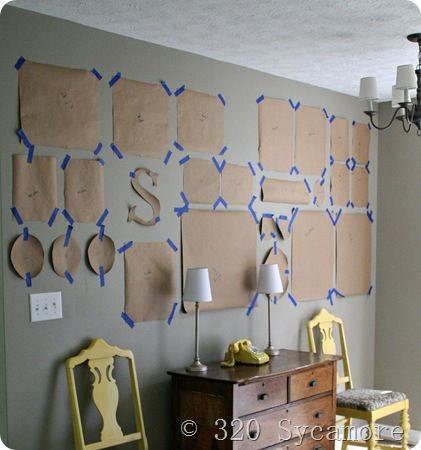
Image Credit: 320Sycamore
You want to ensure that everything would be perfect in the end, right?
Well, one of the ways that you can do to make that happen is to walk the extra mile and layout the design before you start punching holes in the walls and hanging.
You can use any form of paper cut the exact same size as your canvas prints or frames and put them up on the walls.
This way, you can make sure that everything is lined up correctly. Mark where the nails will go to for extra precaution. Do this and you can avoid making mistakes.
Step #6: Start hanging
Following your setup in step 5, things should relatively go smoothly now — in regard to how you’re going to be placing your wall art designs.
But even as you do it, constantly measure the spaces between each frame for a surer way of doing things. Keep these three sizes in mind while you’re at it.
- 3″-6″: The general and ideal distance between pieces of art.
- 6″-8″: The proper distance from the top edge of furniture and the bottom edge of framed wall decor.
- 57″: Decor specialist, Maxwell Ryan says, “Interestingly, the 57″ standard represents the average human eye-height and is regularly used as a standard in many galleries and museums.” It’s also the general height for art hanging on the walls.
The Final Words
A look at the step-by-step process reveals that building your dream canvas print gallery isn’t as easy as slapping a bunch of frames on empty walls. If you want something glamorous and pretty, you really need to work to make it that way.
Fortunately, creating your own canvas print gallery isn’t as complicated to do either. It just takes a lot of patience and effort.

Image Credit: Abstract House
But hey. When you’re finally finished and the final product is before your eyes, you’re going to be glad that you did all that prepping and planning.